

Christmas Blizzard Sew Along--Day 2
Welcome back! How did your cutting day go? Did you have fun using those templates?
I hope you enjoyed yesterday’s instruction so that we can move on the the fun part—putting the rows together. For this part of the process, you will need to refer to your Quilt Row Diagram.
Watch the video and you will see what I mean.
I had so much fun when I was sewing my pieces together. It was like putting a puzzle together. Sewing the pieces in each unit and then sewing them to the row—it was GREAT!
One tip—make sure you check the orientation of your pieces as you sew them in each unit. (This is the voice of experience!). Check twice, sew once.
I put each row up on my design wall to see the progress as I was going along. If you just follow that Row Diagram, you will be amazed at how it comes together.

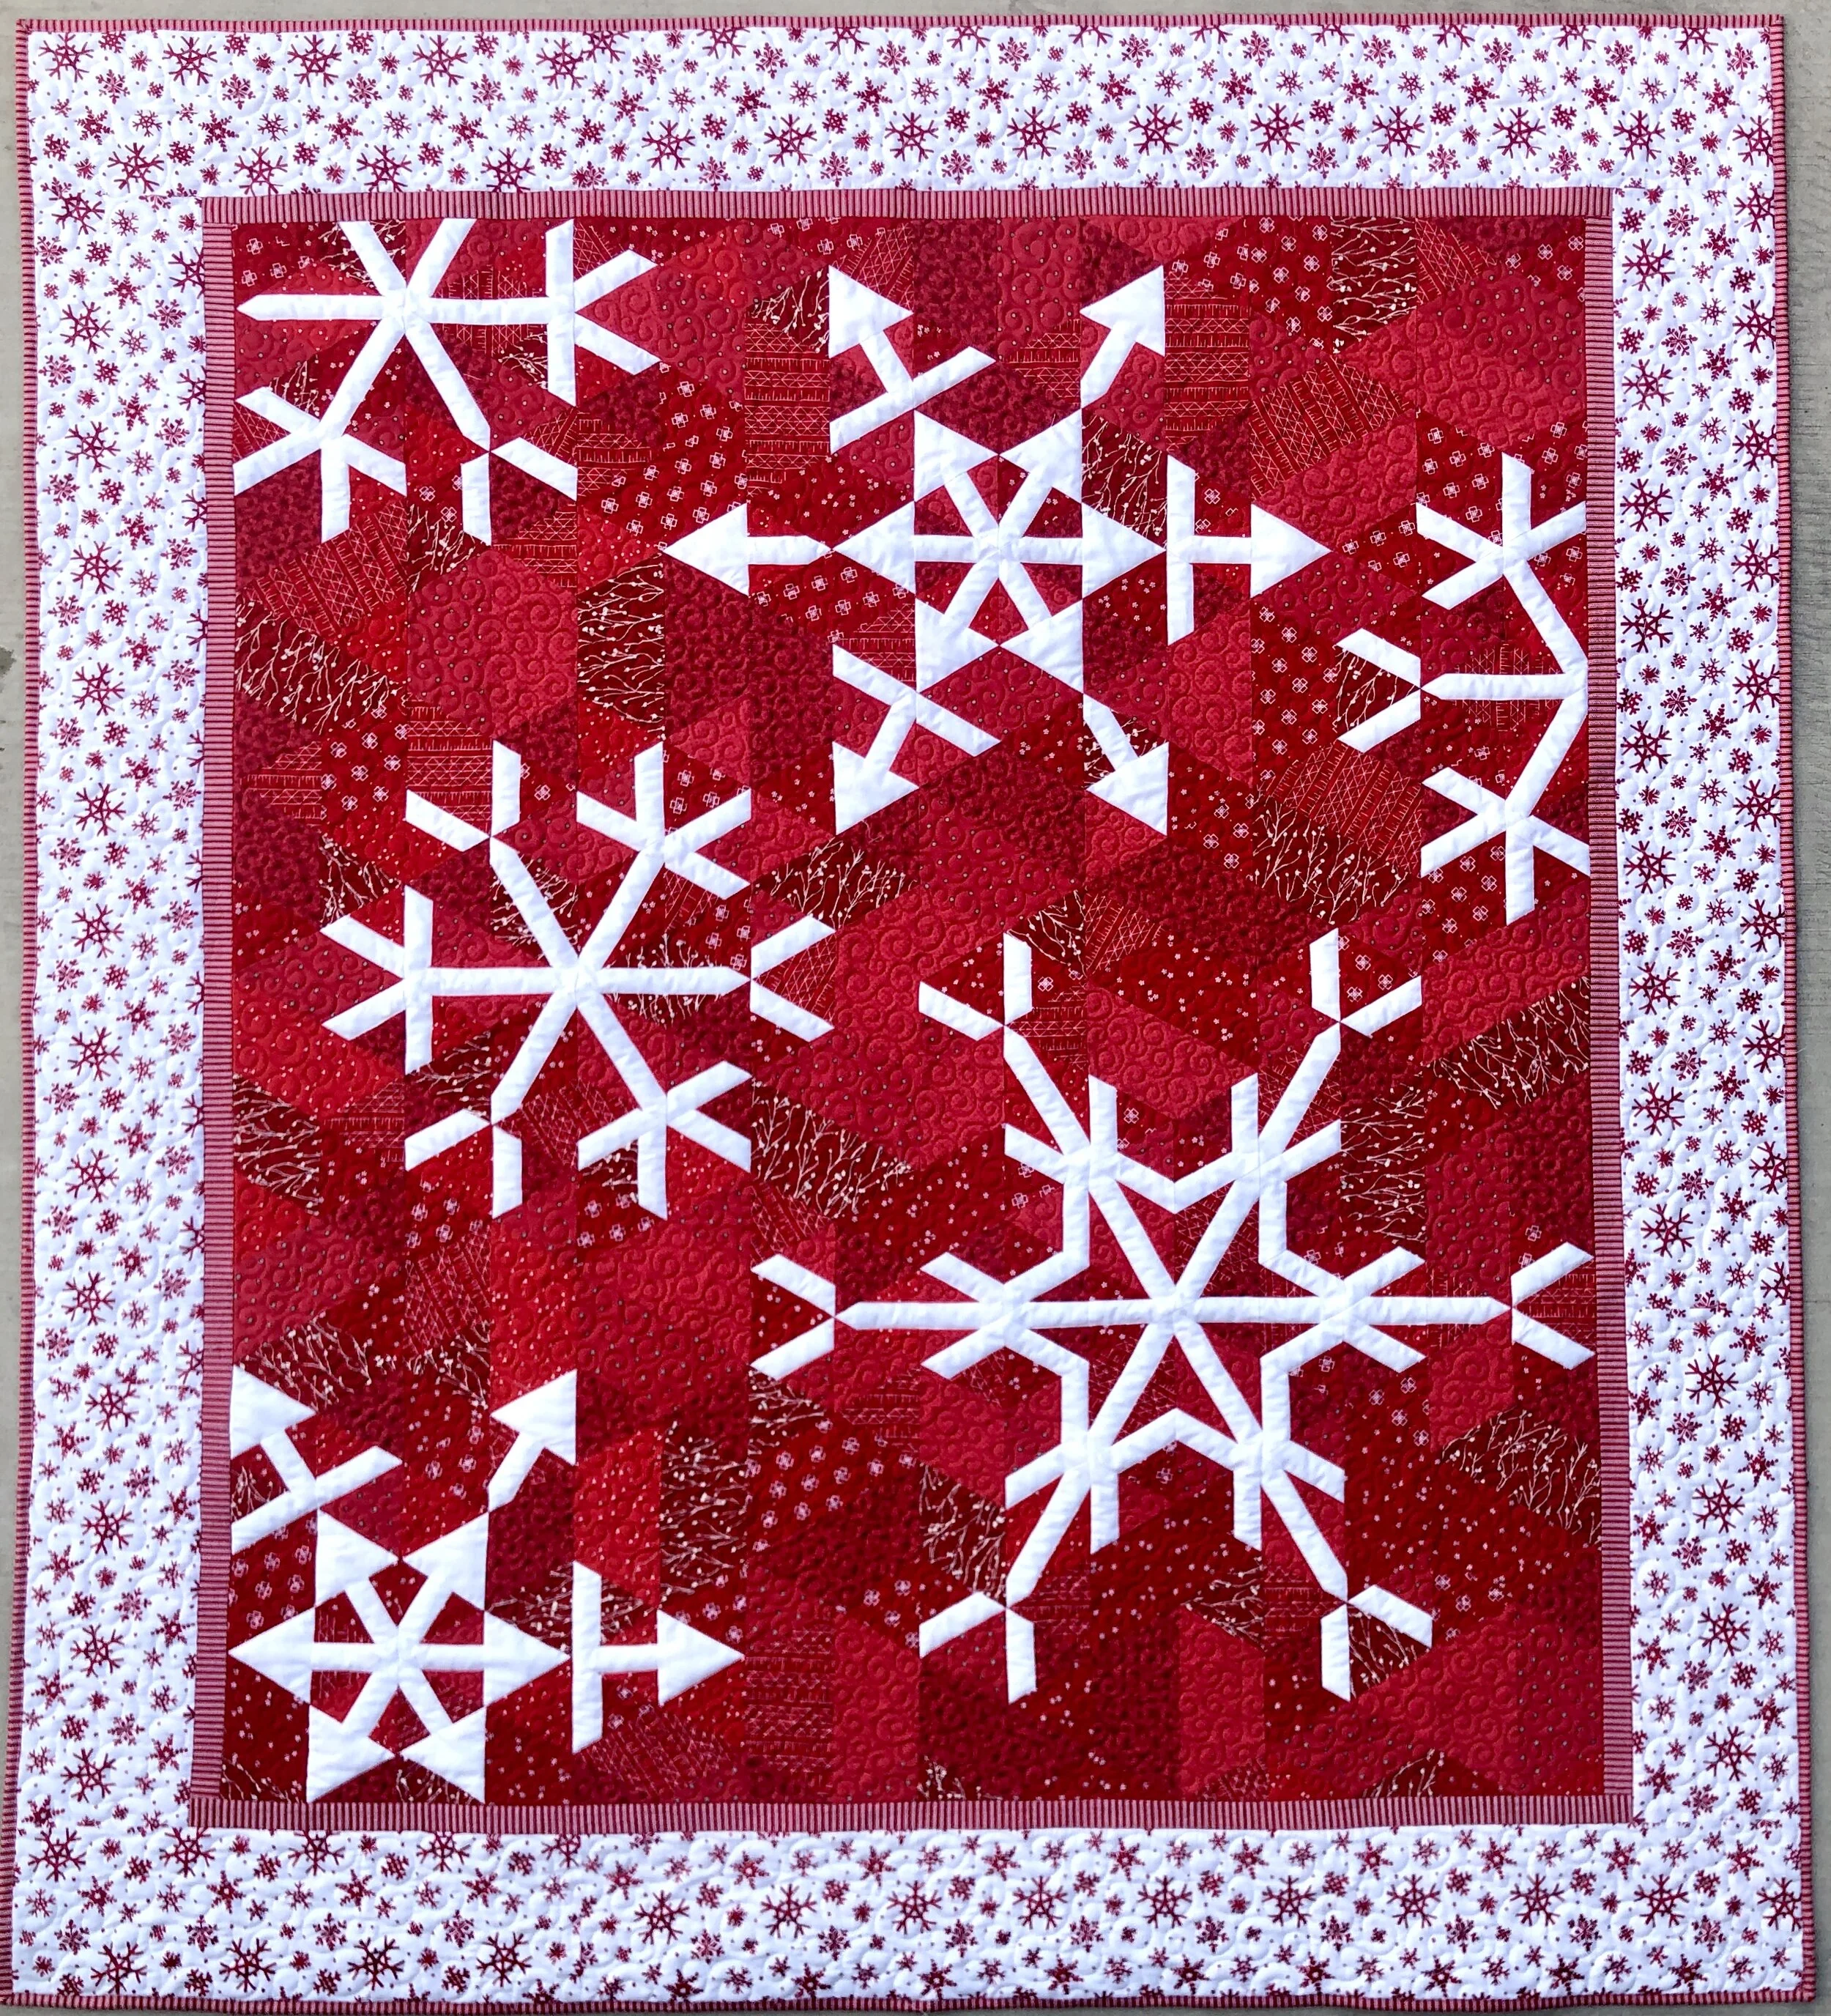
Once you have your rows sewn, you can sew them all together. The side edges (which will actually be the top and bottom edge) of the quilt will be a zig zag. Don’t worry about that for now—we’ll trim it tomorrow. Get those pieces sewn together, and I’ll see you back here tomorrow!
Happy Quilting!
Jill